A good jar of sea moss gel should feel clean, mineral-rich, and alive - not swampy, gritty, or overworked. If you have dried sea moss and a blender, learning how to make sea moss gel at home is simple. The difference comes down to preparation, water ratio, and starting with high-quality moss that has been properly harvested and dried.
Sea moss is one of those daily staples that fits naturally into a wellness routine when it is made well. Blend it right, and you have a smooth gel you can stir into smoothies, teas, soups, or fruit bowls without much effort. Blend it poorly, and you end up with a thin jar that smells too strong or a thick paste that is hard to use.
How to make sea moss gel the right way
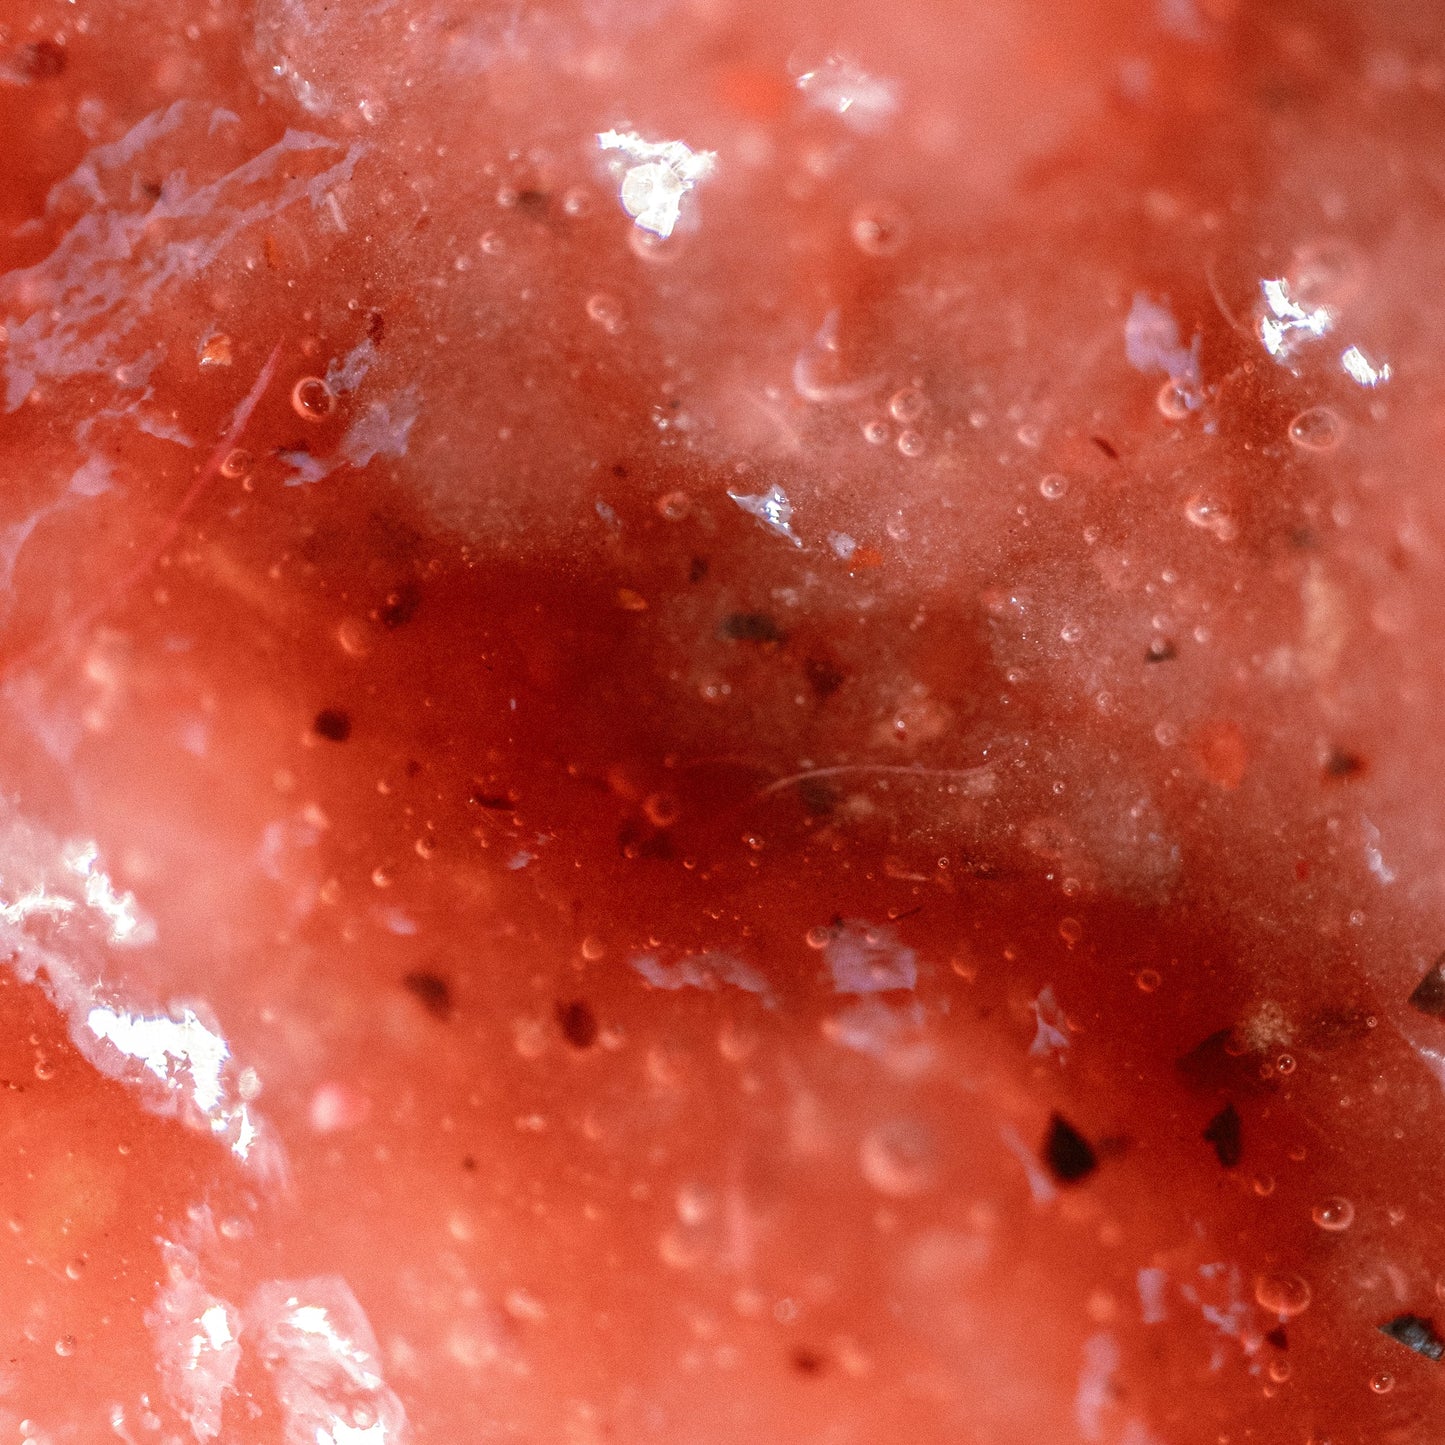
The process itself is straightforward. You rinse the dried sea moss, soak it until it softens and expands, then blend it with fresh water until it becomes smooth. After that, it sets in the refrigerator into the gel texture most people want.
What matters most is not rushing any of those steps. Sea moss responds well to patience. A proper rinse removes natural ocean residue. A full soak helps the strands relax and plump up. A careful blend creates the texture that makes sea moss easy to take daily.
Start with clean, high-quality dried sea moss
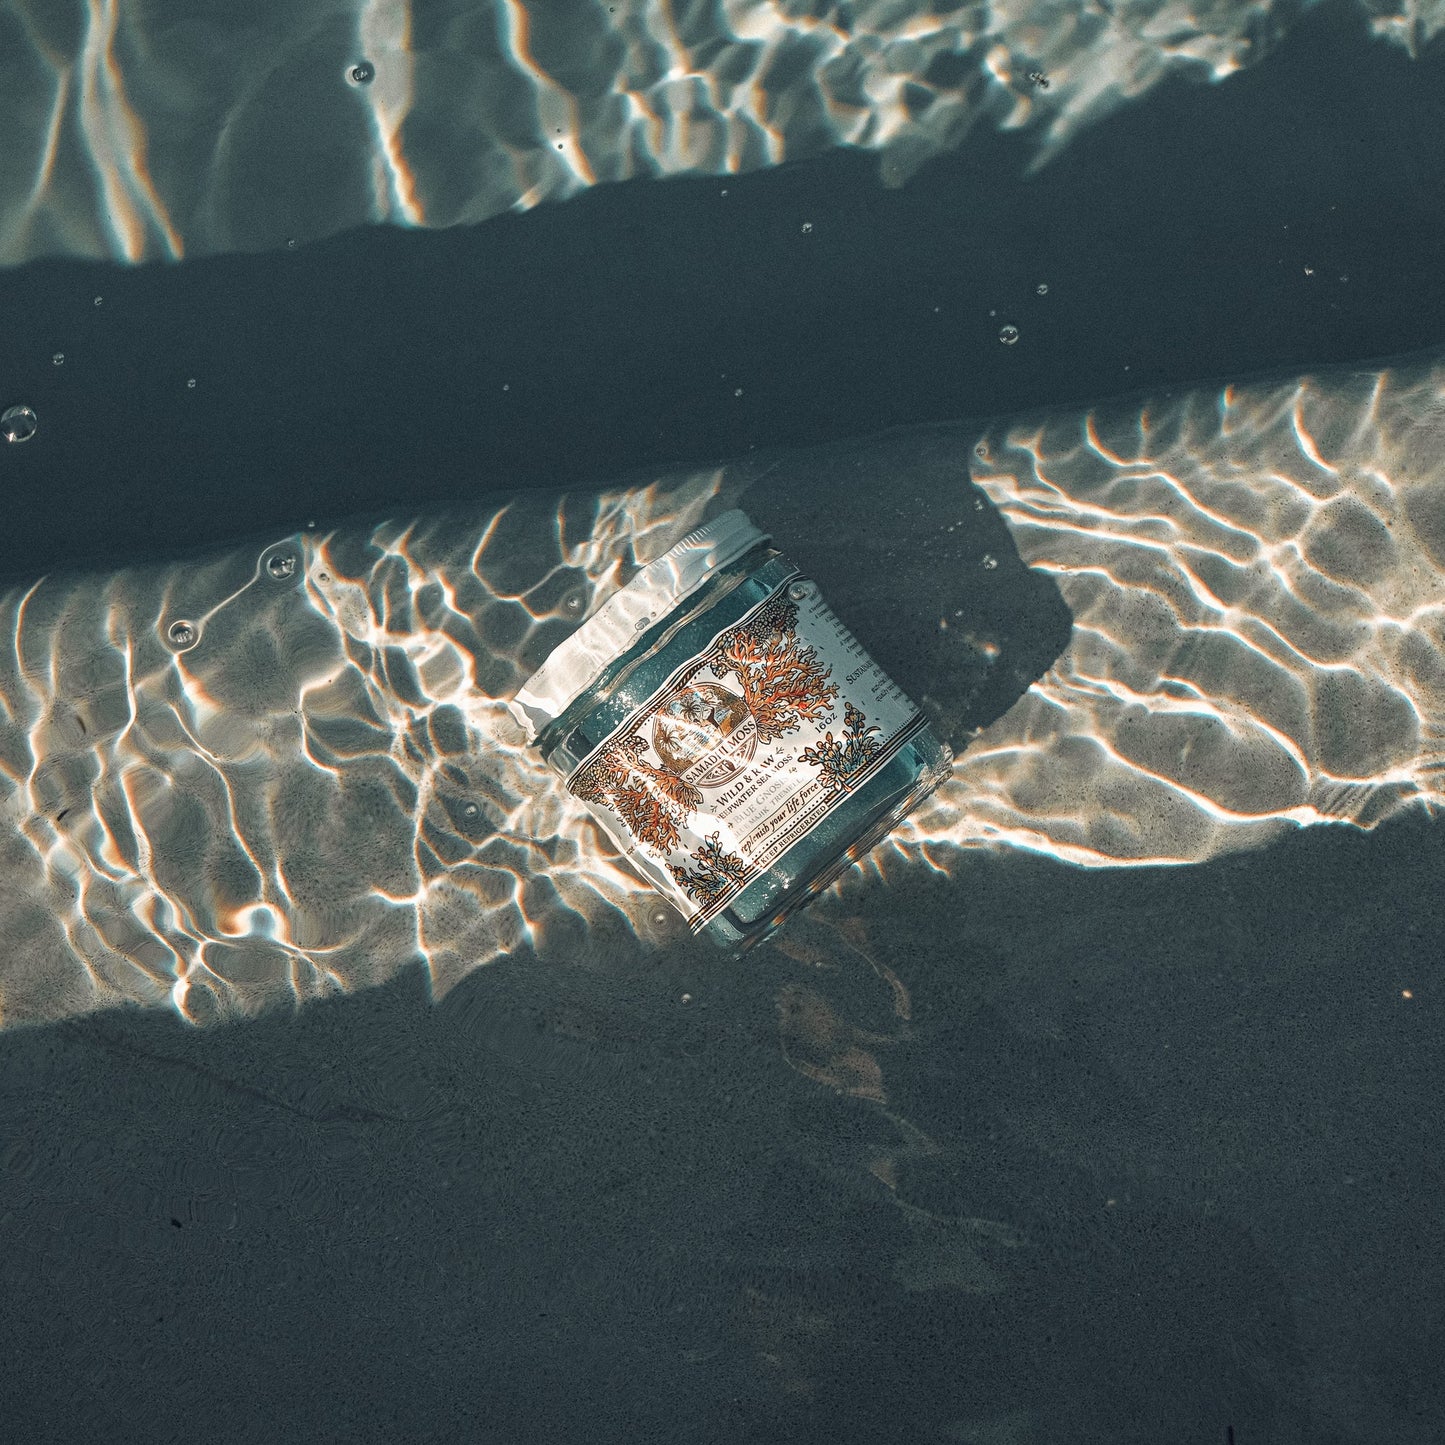
If you want a better gel, start before the blender. The source of the moss affects texture, color, smell, and how clean the final jar feels. Wild harvested sea moss often has more natural variation in shape and tone than farmed material, which is normal. That variation is not a flaw. It is a sign you are working with a real ocean-grown ingredient rather than something overly uniform and industrialized.
Look for dried sea moss that smells like the ocean, not rotten or chemical-heavy. It should be dry and firm, not damp in the bag. Some pieces will have salt, sand, or small bits of shell attached. That is exactly why rinsing matters.
For people who care about purity, origin matters too. Sea moss that is wild harvested, handled in small batches, and sourced directly has a different trust profile than anonymous bulk material moving through middlemen. No shortcuts at the sourcing stage usually means a better experience in your kitchen.
What you need
You only need a few basics: dried sea moss, filtered or spring water, a large bowl, and a blender. A glass jar with a lid is best for storage once the gel is finished.
Some people add lime or lemon during the soak. You can, but you do not have to. Citrus can help freshen the scent slightly, though it may also shift the flavor. If you want a neutral gel that works in both sweet and savory recipes, plain water is often the cleanest choice.
Step-by-step: how to make sea moss gel
Begin by taking a small handful of dried sea moss. Remember that it expands significantly once soaked, so a little goes a long way. For most home batches, about 1 to 2 ounces of dried sea moss is enough.
Rinse the sea moss thoroughly under cool running water. Use your hands to gently separate the strands and remove any visible debris. You are not trying to scrub the life out of it. Just rinse until it looks cleaner and feels free of loose grit.
Place the rinsed sea moss in a bowl and cover it with plenty of water. The strands will swell as they soak, so give them room. Leave it at room temperature for 8 to 12 hours, or overnight. By morning, it should look larger, softer, and slightly translucent.
Once soaked, drain the water and give the sea moss one more quick rinse. Then add it to your blender with fresh water. A good starting ratio is about 1 cup of water for every cup of soaked sea moss, but this is where texture becomes personal.
If you want a thicker gel, start with less water. If you want a looser gel that blends easily into drinks, add a little more. Blend until the mixture looks smooth and creamy, usually 1 to 3 minutes depending on your blender. There should be no obvious chunks left.
Pour the blended sea moss into a glass jar and place it in the refrigerator. It will continue to thicken as it chills, usually within a few hours. By the next day, you should have a spoonable gel.
Getting the texture right
This is where most people overcorrect. If the gel looks thin right after blending, that does not always mean you need to add more sea moss. It often thickens substantially in the fridge. Give it time before deciding the batch failed.
If your final gel is too thick, stir in a small amount of water after it has set. If it is too thin, use slightly less water in your next batch. Sea moss has natural variation, so the perfect ratio is not fixed forever. It depends on the specific moss, how long it soaked, and the texture you prefer.
A high-speed blender helps, but it is not mandatory. A standard blender can still work well if the sea moss is fully softened and you blend long enough. If needed, pause to scrape down the sides and blend again.
Common mistakes that affect your gel
The first mistake is under-rinsing. Sea moss comes from the ocean. If you skip a thorough rinse, the jar can carry too much salt, sand, or residue into the final product.
The second is not soaking long enough. Dry sea moss needs time to rehydrate. If you blend it too early, the texture will be rougher and the gel may not set the way you want.
The third is using too much water too soon. It is easier to thin a batch than to thicken it. Start more conservatively, especially if this is your first time making it.
The fourth is poor storage. Fresh gel should stay refrigerated in a sealed container. Most homemade sea moss gel is best used within about 2 to 3 weeks, depending on your handling and storage conditions. If the smell turns off or the texture changes dramatically, let it go.
How to use sea moss gel daily
Once your gel is ready, the real value is in consistency. A spoonful added to your routine is simple, and that matters. Wellness habits only work when they are easy enough to keep.
Sea moss gel is commonly added to smoothies because it disappears into the texture. It also works in herbal tea, coffee blends, soups, oats, and fruit-based recipes. Some people take it by the spoon straight from the jar. That depends on your taste and how neutral your batch came out.
There is no single perfect time to take it. Morning works well for people building a replenishing ritual around hydration, minerals, and nourishment. Others use it later in the day alongside meals or post-workout nutrition. It depends on your rhythm.
Homemade gel vs ready-made gel
Making your own gives you control. You choose the water, the thickness, and the freshness. It can also feel more intentional, especially if you like building your wellness routine from whole ingredients.
At the same time, homemade is not always the best fit for every schedule. Soaking overnight, blending, and storing a batch takes planning. If you travel often, move fast, or simply want consistency without prep, a ready-made gel can make more sense.
That trade-off is real. DIY gives you process. Ready-made gives you convenience. The right choice is the one you will actually use regularly.
A few final notes on quality
Sea moss is simple, but not all sea moss is equal. Harvesting method, handling, and preparation standards shape the final jar more than most people realize. If your gel feels cleaner, smoother, and easier to use, that usually starts with the raw ingredient.
That is why brands like Samadhi Moss put so much emphasis on wild harvesting, direct sourcing, and small-batch integrity. When purity is the standard from the beginning, the ritual feels better at the end.
If you are learning how to make sea moss gel for the first time, keep it simple. Rinse well, soak fully, blend gently, and let the gel set without forcing it. A clean process creates a clean ritual, and that is where daily vitality starts.