The difference between a clean, silky sea moss gel and a gritty, off-smelling jar usually starts long before the blender. If you're using dried sea moss for gel, the real variables are quality, origin, and preparation. Get those right, and you have a simple ritual that supports daily mineral replenishment without fillers, shortcuts, or guesswork.
For people who care about what goes into their body every day, dried sea moss offers something ready-made formats cannot always match - control. You choose how much to make, how thick to blend it, and what goes into the jar. But that control only works in your favor when you understand how dried moss behaves once it is rehydrated.
Why dried sea moss for gel makes sense
Dried sea moss is the raw starting point for a more intentional wellness practice. It is shelf-stable, versatile, and easy to keep on hand when you want to prepare fresh gel in small batches. That matters if you prefer your supplements close to their natural state and want to avoid added sweeteners, preservatives, or texture agents.
It also lets you see the material before it becomes a finished product. You can inspect the color, structure, and cleanliness of the moss. For buyers who value authenticity, this is a real advantage. Not all sea moss is the same, and the gap between wild harvested and farmed product shows up in texture, appearance, and trust.
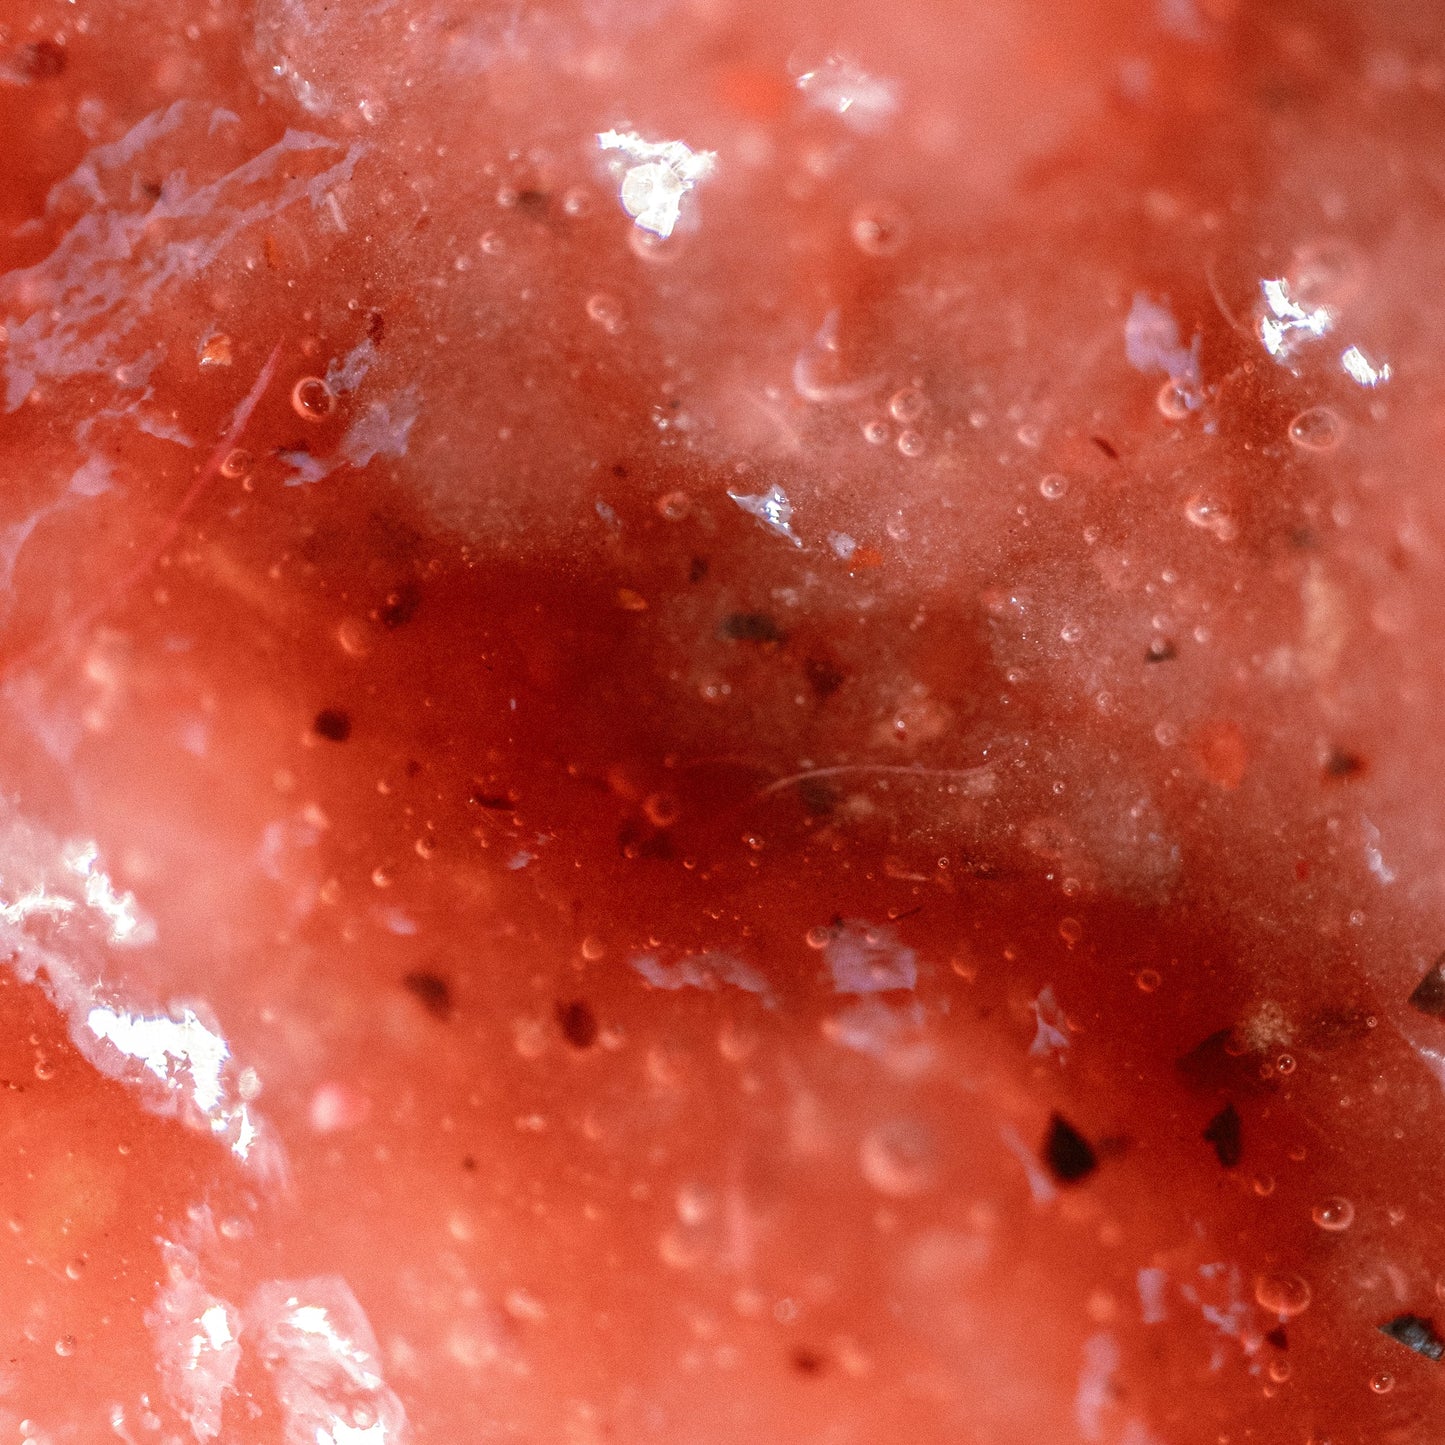
Good dried sea moss should look like a natural marine plant, not a perfectly uniform processed ingredient. Shape and color can vary. Some strands are golden, some deeper brown or purple, depending on type and origin. Variation is normal. What matters more is that it feels clean, smells of the ocean rather than anything sour or chemical, and expands well during soaking.
What to look for before making gel
If your goal is a better gel, start with better dried moss. This is where many people miss the mark. They focus on blending technique, but the source determines the final result.
Wild harvested sea moss tends to carry more character. The strands are often less uniform because nature is not uniform. Farmed sea moss can look neater and sometimes cheaper, but lower price and cleaner appearance do not always mean higher integrity. If purity matters to you, sourcing matters just as much as preparation.
You also want sea moss that has been handled with care after harvest. Clean drying, thoughtful storage, and small-batch processing help preserve quality. A premium product should feel like something gathered with intention, not mass-produced for volume. That distinction matters when sea moss becomes part of a daily vitality ritual.
How to prepare dried sea moss for gel
Making gel is simple, but a few details change the outcome. The process is rinse, soak, blend, and chill. Still, each step affects texture and taste.
Step 1: Rinse thoroughly
Start by placing your dried sea moss in a bowl and rinsing it under cool filtered water. Use your hands to move through the strands and remove any residual salt, sand, or natural ocean debris. This is not a step to rush. A careful rinse gives you a cleaner finished gel and a smoother mouthfeel.
You do not need soap or any special wash. Just water and attention. If the moss is especially dense or tightly curled, separate the strands gently as you rinse.
Step 2: Soak until fully expanded
After rinsing, place the sea moss in a bowl and cover it with filtered or spring water. The moss will expand as it absorbs water, so leave room in the bowl. Most batches need around 8 to 12 hours, though some are ready sooner depending on the variety and how dry it was to begin with.
The key is texture, not the clock. Properly soaked sea moss should feel soft, plump, and slightly slippery. If it still feels tough in the center, give it more time. Under-soaked moss can leave your gel grainy.
Some people add lime or lemon during the soak to soften the scent. That can help, but it also changes the flavor slightly. If you want the purest neutral base, plain water is enough.
Step 3: Blend with fresh water
Once soaked, drain the sea moss and add it to a high-speed blender with fresh filtered water. Start with less water than you think you need. You can always add more, but you cannot easily thicken an overwatered batch without changing the ratio.
A common starting point is enough water to help the blades move freely while keeping the mixture dense. Blend until completely smooth. Depending on your blender, this can take 1 to 3 minutes.
The result should look glossy and cohesive, not foamy and loose. If it is too thick, add a small amount of water and blend again. If it is pourable like juice, you likely used too much water.
Step 4: Chill and set
Transfer the blended sea moss to a glass jar or airtight container and place it in the refrigerator. As it cools, it will thicken into gel. Give it several hours to fully set.
This is where patience pays off. Freshly blended sea moss can seem thinner than expected, but refrigeration transforms the texture. A properly made gel should be spoonable, smooth, and easy to add to your routine.
How thick should sea moss gel be?
That depends on how you use it. If you like adding it to smoothies, a softer gel works well. If you prefer taking it by the spoonful or using it in recipes, a firmer texture may feel better.
There is no single correct thickness. What matters is consistency from batch to batch so your routine stays easy. Once you find your preferred water ratio, keep it simple and repeatable.
If your gel turns out too thick, blend in a little water next time. If it is too thin, reduce the water or soak a bit less aggressively. Sea moss is responsive, and small adjustments go a long way.
Common mistakes with dried sea moss for gel
Most bad batches come down to three issues: poor sourcing, incomplete soaking, or too much water. The first one is the hardest to fix because no preparation method can fully compensate for low-grade material.
Another common mistake is making too much at once. Fresh gel is best when used within a reasonable window, so smaller batches often make more sense for a weekly rhythm. This keeps the texture fresh and the process grounded.
Storage matters too. Keep your gel refrigerated in a sealed container. If the smell changes sharply or the texture becomes questionable, it is time to discard it. Natural products do not need to last forever to be effective. In many cases, shorter shelf life is part of the point.
Why sourcing changes the gel you make
Sea moss is not just a blender ingredient. It is a marine botanical shaped by where and how it grows. Origin influences texture, mineral profile, and the level of trust you can place in the final product.
That is why serious wellness buyers pay attention to whether sea moss is wild harvested or farmed, whether it was collected with care, and whether the seller is transparent about source. A gel made from thoughtfully harvested Belizean sea moss carries a different standard than one made from anonymous bulk material. You can often feel that difference in the jar - cleaner texture, cleaner taste, cleaner confidence.
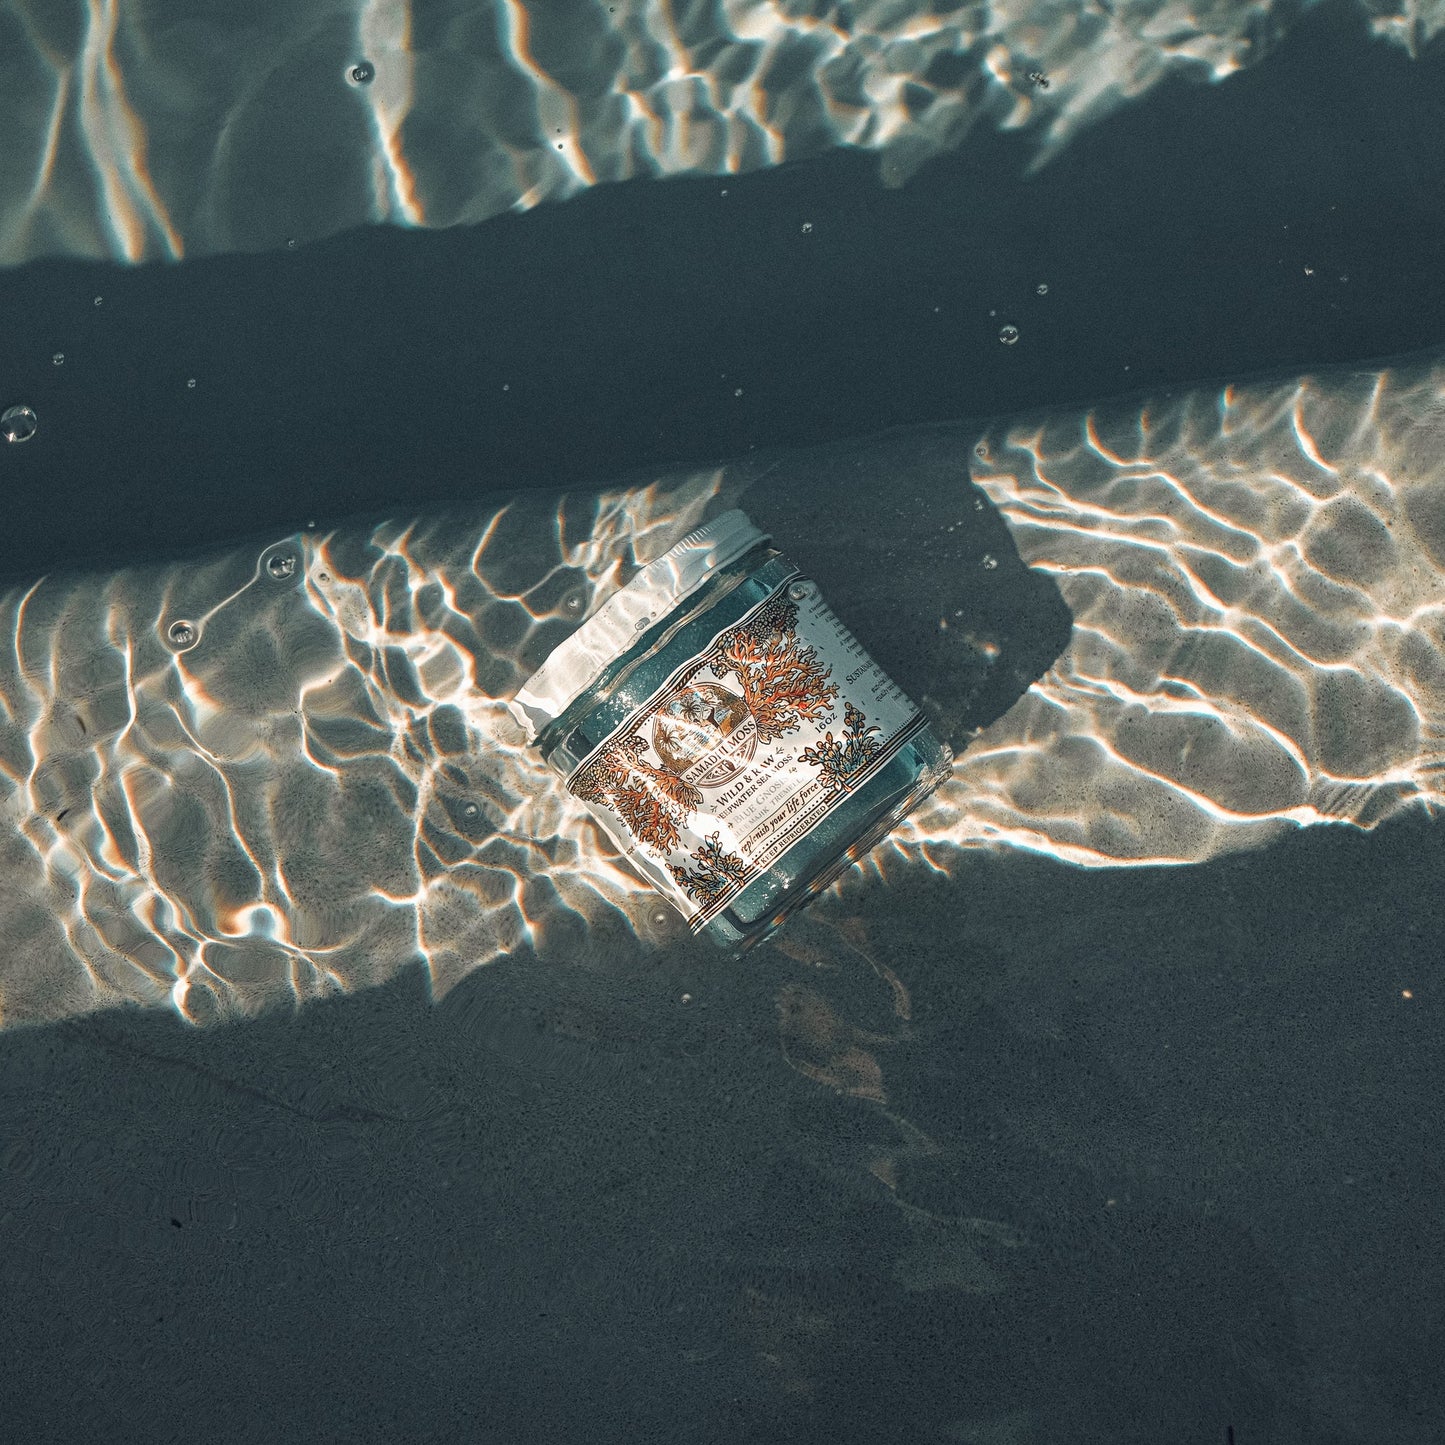
Samadhi Moss builds around that standard with wild harvested sea moss sourced from Belize, never farmed, and prepared with a no-shortcuts approach. For people building a daily ritual around vitality, that level of integrity matters.
Making sea moss gel part of your routine
Fresh gel works best when it becomes easy to use. Add it to smoothies, stir it into tea once cooled, mix it into juices, or take a spoonful on its own. The best ritual is the one you will actually keep.
If you are new to sea moss, start simple. Make one batch. Learn the texture. Notice how your body responds when you use it consistently instead of occasionally. Wellness is rarely about one dramatic move. It is built through steady replenishment.
Dried sea moss gives you a more direct relationship with what you are taking. You rinse it, soak it, blend it, and store it yourself. That process is part of the value. It slows you down just enough to be intentional, while still fitting into real life.
If you want better gel, do not chase hacks. Start with cleaner moss, treat preparation with care, and let your routine stay close to the source. That is where the real shift begins.