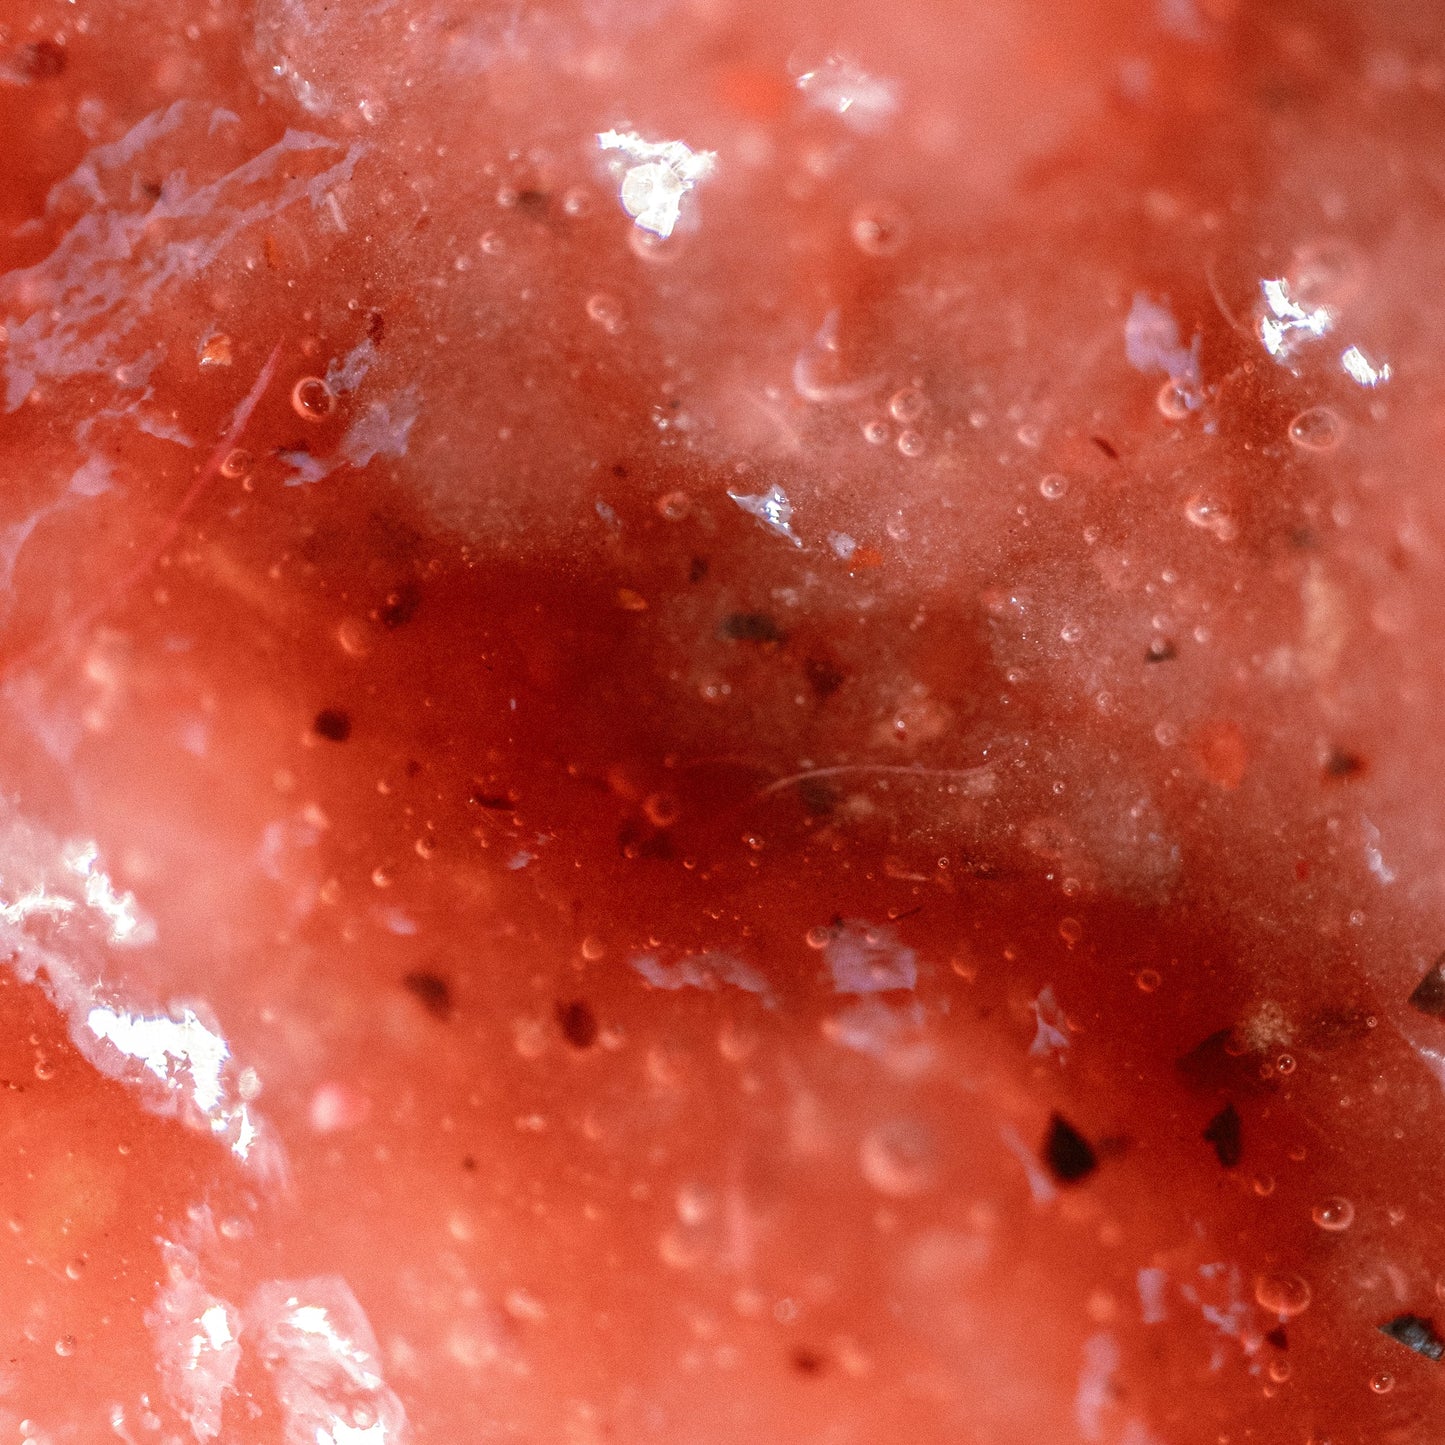
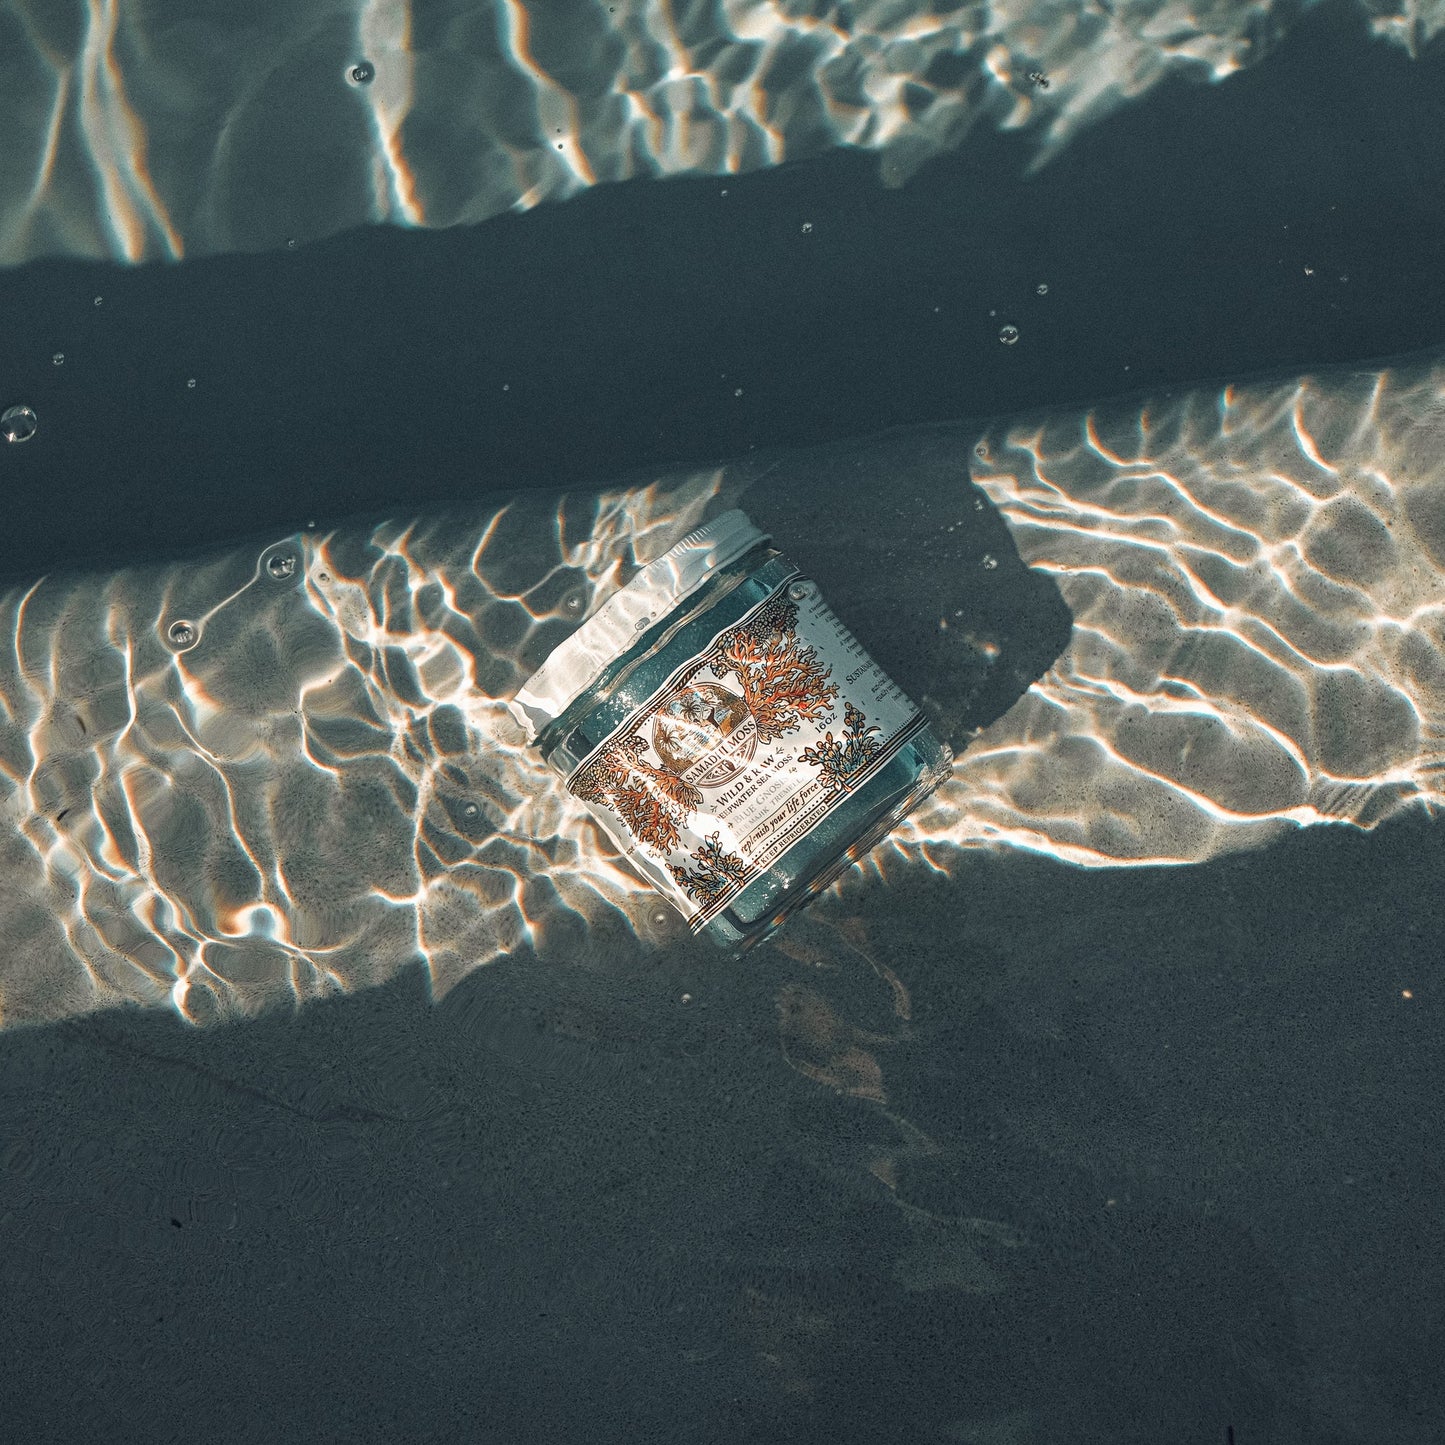
A jar of fresh sea moss gel in the refrigerator can make a daily wellness ritual feel remarkably simple. But the quality of that gel begins long before the blender. This guide to sea moss preparation methods shows you how to take dried sea moss from its natural, ocean-born form to a clean, smooth gel made for your routine.
Preparation is not about rushing the process. It is about respecting the ingredient: rinsing with care, hydrating fully, and choosing a method that keeps the flavor and texture right for you. No shortcuts. Just clean, intentional preparation.
Start With Sea Moss You Can Trust
Your preparation can only be as good as the moss in your bag. Dried sea moss should look organic and varied, with curls, branches, and natural color differences rather than a perfectly uniform, processed appearance. It should have a mild ocean aroma, not an overpowering fishy or chemical smell.
Origin matters. Wild harvested sea moss, gathered beyond the shore by local divers, develops in a natural marine environment instead of being cultivated on ropes. That distinction matters to people who care about purity, traceability, and a closer connection to the source. Samadhi Moss is sourced from Belizean waters and prepared with that standard in mind.
Sea moss is a whole food from the ocean, so you may find tiny traces of sand, shell, or other natural ocean material. That is normal. Your first task is to remove it patiently without stripping the moss down with harsh products.
Guide to Sea Moss Preparation Methods: The Foundation
Before choosing between room-temperature soaking, warm-water soaking, or a quick stovetop approach, begin with the same essential process: inspect, rinse, and hydrate.
Inspect and sort the dried moss
Start with a small amount. Dried sea moss expands considerably as it absorbs water, so a little goes a long way. Remove any pieces that do not look like sea moss or any obvious bits of shell. Keep the naturally shaped pieces intact where possible.
Rinse it thoroughly
Place the moss in a bowl and cover it with cool, filtered water. Gently move it through the water with your hands, then pour the water away. Repeat several times until the rinse water is mostly clear and you no longer feel grit.
Do not use soap, bleach, or chemical cleaners. Sea moss does not need them, and they do not belong in a food you plan to eat. Some people add lime or lemon during the final rinse for a brighter scent, but this is optional. Citrus can soften the ocean aroma, though it may leave a subtle flavor in the finished gel.
Hydrate until it transforms
After rinsing, place the moss in a clean glass bowl or jar and add enough filtered water to fully cover it. As it soaks, it will lighten in color, swell, and become tender with a soft, almost translucent look. That is the texture you want before blending.
The method you choose from here depends on your schedule, the texture you prefer, and how gently you want to treat the ingredient.
Method One: Cold Soak for a Clean, Traditional Gel
Cold soaking is the most common preparation method for dried sea moss, and for good reason. It is simple, low-intervention, and ideal when you want a fresh gel with a neutral flavor.
Cover the rinsed moss with filtered water and let it soak in the refrigerator for 12 to 24 hours. If you are soaking at room temperature, use it only for a shorter period in a cool kitchen and keep an eye on freshness. Refrigeration is the more cautious choice, especially in warm homes.
Once the moss is fully expanded and tender, drain the soaking water. Add the softened sea moss to a high-speed blender with fresh filtered water. Begin with about 1 cup of water for each cup of soaked moss, then add more gradually if needed. Blend until the gel is creamy and smooth.
Cold-soaked gel typically has a clean taste and a pleasantly light body. It is a strong choice for smoothies, juices, teas, soups, and sauces because it blends in without demanding attention.
Method Two: Warm Soak for Faster Preparation
If you need your gel sooner, warm water can speed up hydration. Use warm water, not boiling water. Think comfortably warm to the touch rather than steaming hot.
After rinsing, cover the sea moss with warm filtered water and soak it for 2 to 4 hours. The timing depends on the thickness and dryness of the moss. Check it periodically. When it has expanded and feels soft throughout, drain it and blend with fresh filtered water.
The trade-off is straightforward: warm soaking saves time, but it may create a slightly softer gel and a more noticeable ocean flavor. For many people, that difference is minor. If your main goal is convenience without relying on high heat, this method fits beautifully into an afternoon prep session.
Method Three: Gentle Simmering for a Softer Texture
Some people prefer to gently simmer sea moss before blending, particularly when they want a very soft texture for warm recipes. This is the fastest method, but it is also the least traditional for those who want to keep preparation as minimal as possible.
Rinse the moss, then add it to a small saucepan with filtered water. Bring the water just to a gentle simmer, then reduce heat and let it soften for roughly 10 to 15 minutes. Avoid a hard boil. When the moss is tender and expanded, allow it to cool before blending.
Because heat changes the texture quickly, add blending water slowly. Simmered sea moss can become thinner than expected if too much water is added at once. This method works well for people who prioritize speed or want to use the gel in soups, broths, and warm drinks.
Blend for the Texture You Actually Want
A good sea moss gel should be smooth, spoonable, and easy to incorporate into food and drinks. It should not be watery, gritty, or overly thick like paste.
Use fresh filtered water for blending rather than the soak water. Blend for one to two minutes, stopping to scrape down the sides if needed. High-speed blenders create the silkiest finish, but any blender can work if the moss was hydrated thoroughly.
For a thicker gel, use less water and blend longer. For a lighter gel that disappears easily into smoothies, add water one tablespoon at a time. There is no universal perfect consistency. Your ideal texture depends on whether you prefer to take it by the spoonful, mix it into a drink, or use it in recipes.
You can blend in fruit for flavor, but remember that a flavored gel generally has a shorter shelf life than plain gel. If versatility matters, keep your main batch unflavored and add pineapple, berries, or citrus to individual smoothies instead.
Store It Like a Fresh Food
Transfer your finished gel into a clean, airtight glass jar and refrigerate it promptly. Plain homemade sea moss gel is generally best used within 2 to 3 weeks, though freshness can vary with cleanliness, water quality, and refrigerator temperature. When in doubt, trust your senses. Discard the gel if you notice mold, an off smell, bubbling, or a major change in color or texture.
For longer storage, freeze portions in an ice cube tray, then transfer the frozen cubes to a sealed container. This makes daily use easy: one cube can go directly into a smoothie or thaw in the refrigerator when you need it.
Clean tools matter at every stage. Use washed hands, sanitized jars, and a clean spoon each time you scoop from the container. Small habits protect the freshness of your batch.
Make Preparation Part of Your Ritual
Sea moss does not need a complicated routine to earn a place in your kitchen. Start with a modest serving and see how it fits your day. Add a spoonful to a morning smoothie, stir it into a juice, or blend it into a post-workout shake. If you have a thyroid condition, take medication, are pregnant, or have questions about iodine intake, speak with a qualified healthcare professional before making sea moss a daily supplement.
The best preparation method is the one you can repeat with care. Give the moss clean water, enough time to soften, and a place in a routine that replenishes you. That is how an ocean mineral ritual becomes part of real life.