A good sea moss ritual should feel clean, easy, and nourishing - not gritty, foamy, or full of stubborn gel clumps at the bottom of your glass. When you blend sea moss gel smoothly, it becomes what it is meant to be: a neutral, creamy base that disappears into the foods and drinks already supporting your vitality.
The difference usually comes down to three details: the temperature of your ingredients, the amount of liquid in the blender, and when you add the gel. Get those right, and your smoothie, tonic, or homemade sauce takes on a silky texture without losing its fresh, whole-food feel.
Start With a Smooth, Fresh Gel
Sea moss gel is naturally thick because its soluble fiber creates a soft, jelly-like consistency. That texture is exactly what makes it useful in smoothies, juices, dressings, and plant-based recipes. But a gel that is overly cold, beginning to dry around the edges, or stored without a secure lid may not incorporate as evenly.
Use refrigerated gel while it is fresh and evenly set. If it feels especially firm straight from the refrigerator, scoop your serving into the blender first and let it sit with your liquid for a minute before blending. You do not need to heat it. Gentle time in a room-temperature liquid is usually enough to soften the gel's edges.
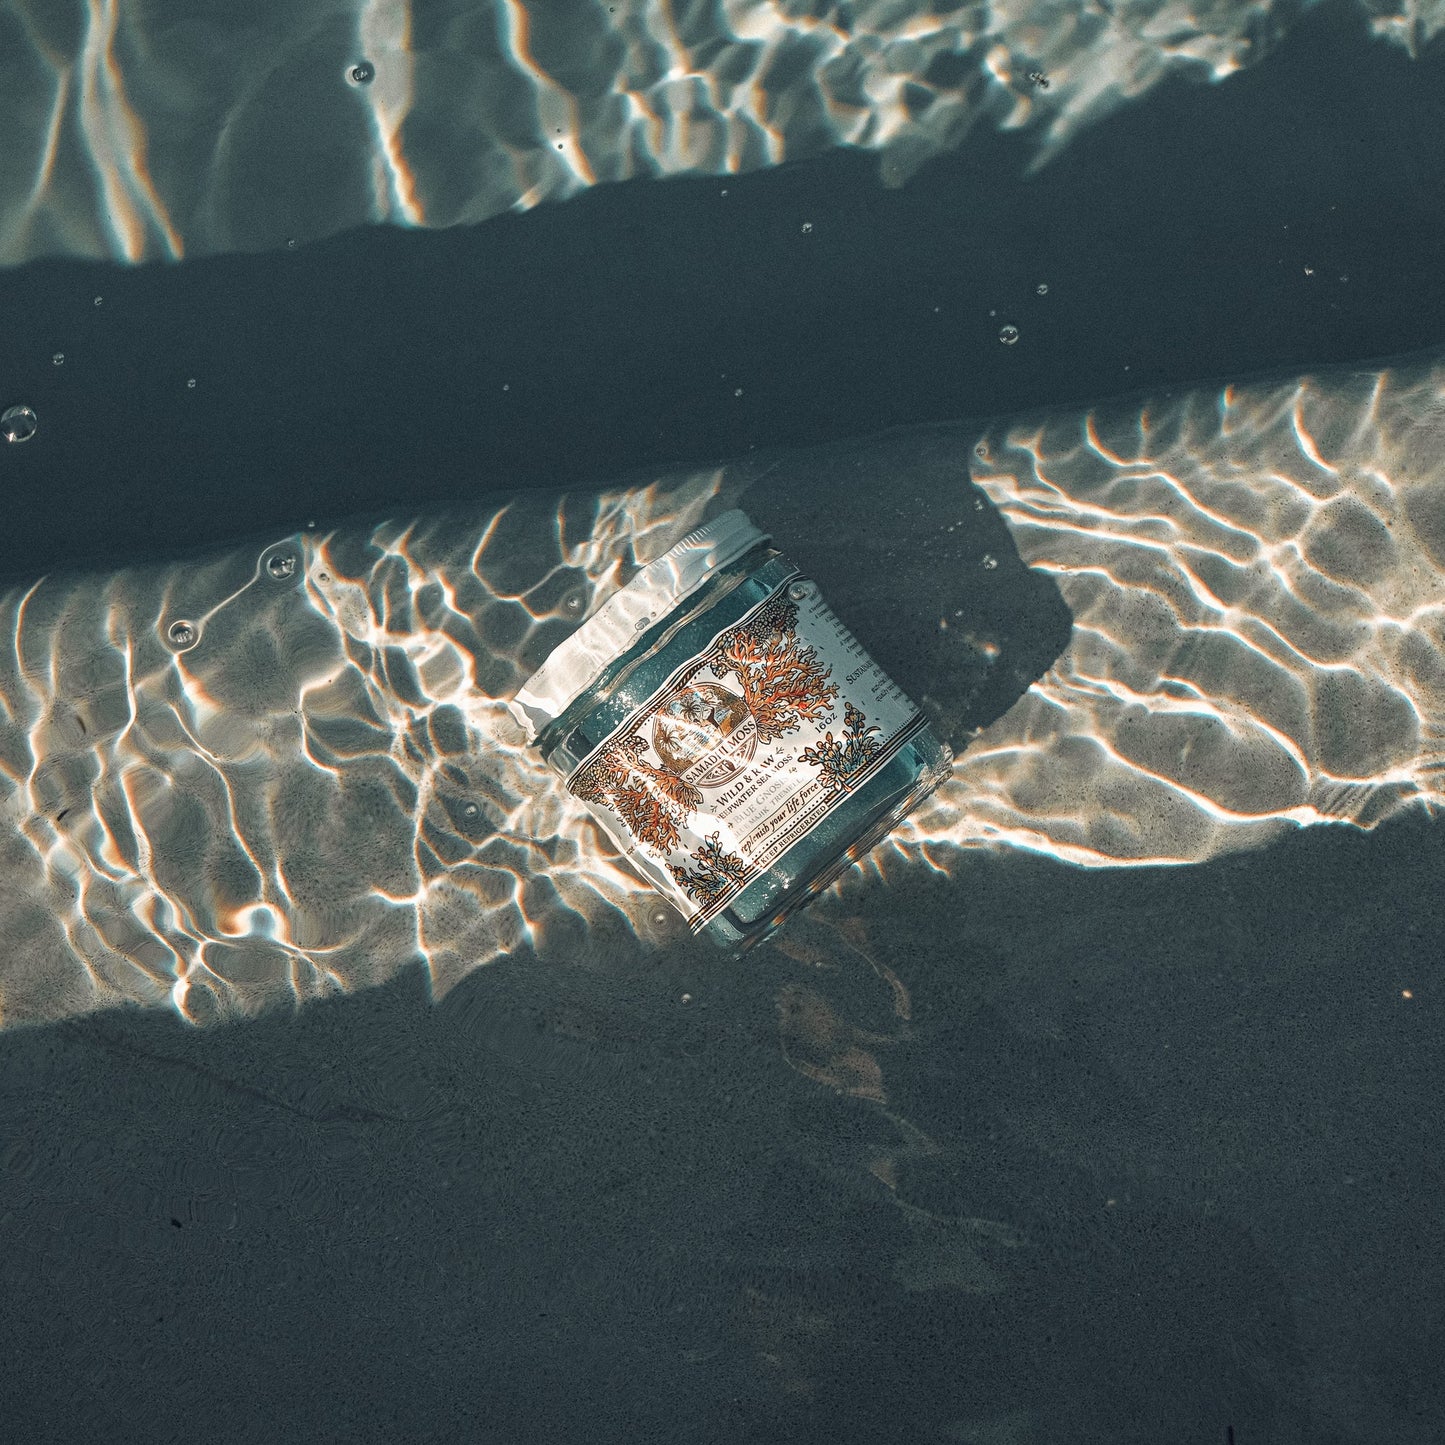
Quality also shapes texture. Wild harvested sea moss has a natural variability in color, aroma, and body because it grows in the ocean rather than on a farm line. A carefully prepared gel should still blend into a smooth consistency when paired with enough liquid and a capable blender. Samadhi Moss prepares its Belize-sourced sea moss in small batches, honoring the integrity of the plant from ocean harvest to daily ritual.
How to Blend Sea Moss Gel Smoothly in a Smoothie
For most people, a smoothie is the easiest place to begin. Sea moss gel has a mild profile, so it works well with bright fruit, creamy banana, coconut, greens, citrus, and protein-forward ingredients.
Start by adding your liquid to the blender. Water, coconut water, oat milk, almond milk, or a fresh juice all work. Then add your sea moss gel directly into that liquid before adding frozen fruit, ice, leafy greens, powders, or nut butter. This order gives the blades room to pull the gel into the liquid instead of trapping it beneath heavier ingredients.
For a single serving, begin with 1 to 2 tablespoons of gel and at least 8 ounces of liquid. If your smoothie contains frozen banana, mango, berries, avocado, chia, oats, or protein powder, use a little more liquid than you think you need. Those ingredients thicken quickly, and too little liquid is the most common reason sea moss stays in small pieces rather than blending fully.
Blend on low for a few seconds, then increase to high speed for 30 to 45 seconds. A quick pulse can break up large frozen pieces, but sustained blending creates the creamy finish. If the mixture stalls, stop the blender, scrape down the sides, add a splash of liquid, and blend again. Do not keep forcing a thick mixture against the blades. A small adjustment is better than overworking the blender.
A simple mineral-forward green blend
Try coconut water, a handful of spinach, frozen pineapple, half a banana, fresh lime, and 1 to 2 tablespoons of sea moss gel. The pineapple and lime keep the flavor bright, while banana gives the blend a soft, full body. It is a clean way to build a replenishing morning ritual without making your smoothie taste overly sweet.
Choose Liquid Before You Add More Gel
More gel does not always mean a better blend. Sea moss is a concentrated food, and a modest serving is enough for most daily routines. Adding too much, especially alongside other thick ingredients, can turn a smoothie into a spoonable paste.
Think of sea moss gel as a texture builder as much as a functional addition. If you want a drinkable smoothie, maintain a higher liquid ratio. If you are making a smoothie bowl, pudding, or thick post-workout blend, reduce the liquid gradually after the gel has already dispersed.
The type of liquid matters, too. Thin liquids such as water, coconut water, and juice blend gel fastest. Dairy-free milks provide more creaminess but may need an extra splash. Very thick bases such as yogurt, kefir, nut butter, or canned coconut cream benefit from being loosened with water or milk before the gel goes in.
Avoid Ice-First Blending
Ice can make a drink refreshing, but it can also make blending harder when used too early. Large ice cubes create pockets around the blades, leaving bits of gel and greens untouched. Frozen fruit is usually a better choice when you want a cold, thick smoothie with a more consistent texture.
If you prefer ice, blend your liquid and sea moss gel first until smooth. Add the rest of your ingredients, then finish with a small handful of ice. This gives the gel a chance to fully disperse before the blender takes on its hardest job.
A high-speed blender will make this process faster, but it is not required. In a standard blender, use softer fruit, avoid large ice cubes, allow frozen ingredients to thaw for a few minutes, and blend in stages. Patience is part of a prepared ritual. No shortcuts does not mean complicated - it means giving quality ingredients the conditions they need to perform well.
Blend Sea Moss Gel Smoothly Into More Than Drinks
Sea moss gel is not limited to smoothies. Its soft, neutral texture can support simple recipes that fit naturally into breakfast, lunch, and recovery-focused meals.
For fresh juice or a morning tonic, blend the gel with a small amount of juice or water first. Once it is fully smooth, stir or blend in the remaining liquid. This prevents the gel from settling in uneven ribbons.
For overnight oats, chia pudding, or yogurt, whisk sea moss gel with the milk or yogurt before adding oats, seeds, or toppings. A whisk works well for a small batch, though a handheld frother creates an especially light consistency. In sauces and dressings, blend it with the liquid ingredients - lemon, lime, vinegar, olive oil, or water - before adding herbs, garlic, or spices.
You can also use sea moss gel in soups, but avoid boiling it aggressively for long periods. Stir it into warm, not violently boiling, foods near the end of preparation. This preserves a more pleasant texture and keeps the meal feeling fresh rather than heavy.
Why Your Sea Moss Gel May Look Lumpy
A few small pieces are usually a technique issue, not a reason to discard a good gel. Most often, the gel was added after frozen ingredients, the blender did not have enough liquid, or the blades were unable to create a strong vortex.
If your blend is foamy, you may be blending too long or using too much airy ingredient, such as leafy greens or protein powder. Let the smoothie rest for a minute before drinking. If it is grainy, check whether another ingredient is responsible - chia, flax, gritty protein powder, dates, or poorly soaked oats are frequent culprits.
If the sea moss itself has an unusually fibrous texture, give it a quick blend with water before using it in recipes. This is particularly useful with homemade gel made from dried moss. The final texture of DIY gel depends on how thoroughly the moss was rinsed, softened, and blended during preparation.
Keep the Ritual Simple
The best sea moss routine is one you will actually repeat. You do not need a complicated recipe or a cabinet full of powders. A tablespoon of gel in a well-built smoothie, juice, or breakfast bowl can become a grounded moment of daily nourishment.
Start with enough liquid. Add the gel before dense ingredients. Blend long enough for a creamy finish, then adjust rather than forcing a too-thick mixture. With that simple rhythm, your sea moss becomes less of a task and more of a clear, consistent way to replenish your life force.