Dried sea moss arrives with the story of the ocean still on it. Its natural scent, deep color, and occasional speck of sand are reminders that this is a real whole-food ingredient, not a lab-made powder. To rinse dried sea moss properly, your goal is simple: remove excess sea salt and any loose ocean debris while preserving the clean, mineral-rich sea vegetable beneath it.
There is no need to overcomplicate the ritual. A patient rinse, clean water, and a careful inspection are enough to prepare your moss for soaking and blending. No shortcuts. Just a clean foundation for the gel, smoothies, teas, and daily nourishment you intend to make.
Start With Clean Hands, a Clean Bowl, and Cold Water
Set up before you open your dried sea moss bag. Wash your hands thoroughly and use a large glass or stainless-steel bowl. Avoid preparing sea moss in a bowl that carries food residue, soap fragrance, or oils from previous meals. Sea moss has a delicate ocean character and can pick up surrounding flavors easily.
Use cool, filtered water whenever possible. Warm or hot water can soften the moss too quickly during the rinse, making it harder to inspect and handle. Cold water keeps the process gentle and gives you a clear look at the moss as it begins to wake up.
Place the amount you plan to prepare in the bowl. Dried sea moss expands significantly as it soaks, so resist the urge to use an entire bag unless you are making a larger batch for the week. A small handful can produce more gel than expected.
How to Rinse Dried Sea Moss Properly
Begin by separating the pieces with your fingers. Dried sea moss may arrive in clusters, especially when it has been naturally dried after harvest. Gently pull those clusters apart so water can move through every branch and curl.
Run cool water over the moss, then swish it through the bowl. Pour away the water and repeat. As you rinse, lightly rub each piece between your fingers to release loose sand, sea salt, or small particles that may be tucked into the folds. Do not scrub aggressively or tear the moss apart. The purpose is to clean it, not break down its natural structure.
Continue changing the water until it runs mostly clear and the moss no longer feels heavily salty to the touch. Depending on the harvest, drying conditions, and how much moss you are preparing, this may take several rinses. Some natural ocean aroma can remain, and that is normal. What you are looking for is clean water, a refreshed texture, and no visible debris.
A quick visual check matters. Look closely at the moss under good lighting and remove any tiny shell fragments, dark particles, or pieces that do not look like sea moss. Wild-harvested sea moss is not manufactured into identical strips. Its variation is part of its integrity, but careful preparation is still essential.
Do You Need Lemon or Lime?
Lemon or lime is optional, not required. Some people add a squeeze of fresh citrus to the final rinse or soak because they enjoy the brighter scent it leaves behind. Citrus may help soften the ocean aroma, but it is not a replacement for rinsing thoroughly with clean water.
If you use citrus, keep it simple. Add fresh lemon or lime to a bowl of water after your initial rinses, let the moss sit briefly, then rinse once more with cool water. Avoid bottled juice with preservatives, sweeteners, or artificial flavors. Your sea moss should remain clean, pure, and close to its natural state.
What Not to Use When Cleaning Sea Moss
Sea moss does not need soap, dish detergent, bleach, vinegar, baking soda, or produce wash. These products can leave behind residues and overwhelm an ingredient you intend to eat. Clean water and mindful handling are the standard.
It is also best to skip hot water and long, aggressive rinsing. Overhandling can make the sea moss overly soft before it has had a chance to soak properly. Think of the rinse as a reset, not a full preparation stage.
If the moss has a strong smell after several rinses, give it time during the soak rather than reaching for harsh ingredients. Naturally harvested sea moss can carry a mild marine scent, particularly before hydration. As it soaks, expands, and is blended into gel, that scent often becomes much more subtle.
Soak It After Rinsing
Once your dried sea moss is clean, place it in a fresh bowl and cover it completely with cool, filtered water. Leave room in the bowl because the moss will expand as it rehydrates. Cover the bowl and let it soak in the refrigerator for 12 to 24 hours.
By the end of the soak, the moss should look fuller, feel soft and slippery, and appear lighter or more translucent than it did when dry. If it has not softened enough to blend smoothly, give it a few more hours. The exact timing depends on the thickness of the moss and the conditions in which it was dried.
After soaking, drain the water. There is usually no need to rinse again, though a brief cool-water rinse is fine if you notice any remaining particles. At this point, your sea moss is ready to blend with fresh filtered water into a smooth gel.
A Note on Soaking Water
Do not use the soaking water as part of your gel. It has done its job by rehydrating the moss and drawing out any remaining saltiness. Drain it, then blend the soaked sea moss with clean water for a fresher-tasting result.
For a neutral gel, use only sea moss and filtered water. If you prefer a light citrus finish, add a small amount of fresh lemon or lime while blending. Keep the formula intentional. A clean gel is versatile enough for smoothies, juices, teas, soups, and simple daily spoonfuls.
Know the Difference Between Clean and Overprocessed
The most nourishing sea moss ritual starts with quality at the source. Wild-harvested moss can look more varied than uniform, rope-grown alternatives because nature does not produce identical pieces. Colors may range from golden tan to deep purple, greenish brown, or burgundy depending on the species, season, and drying process.
That variation does not mean it is dirty. It means you should inspect it with care. Quality dried sea moss should smell fresh and oceanic rather than sour, rancid, or chemical-like. It should be dry to the touch before soaking, with a firm, crisp texture rather than excess moisture or visible mold.
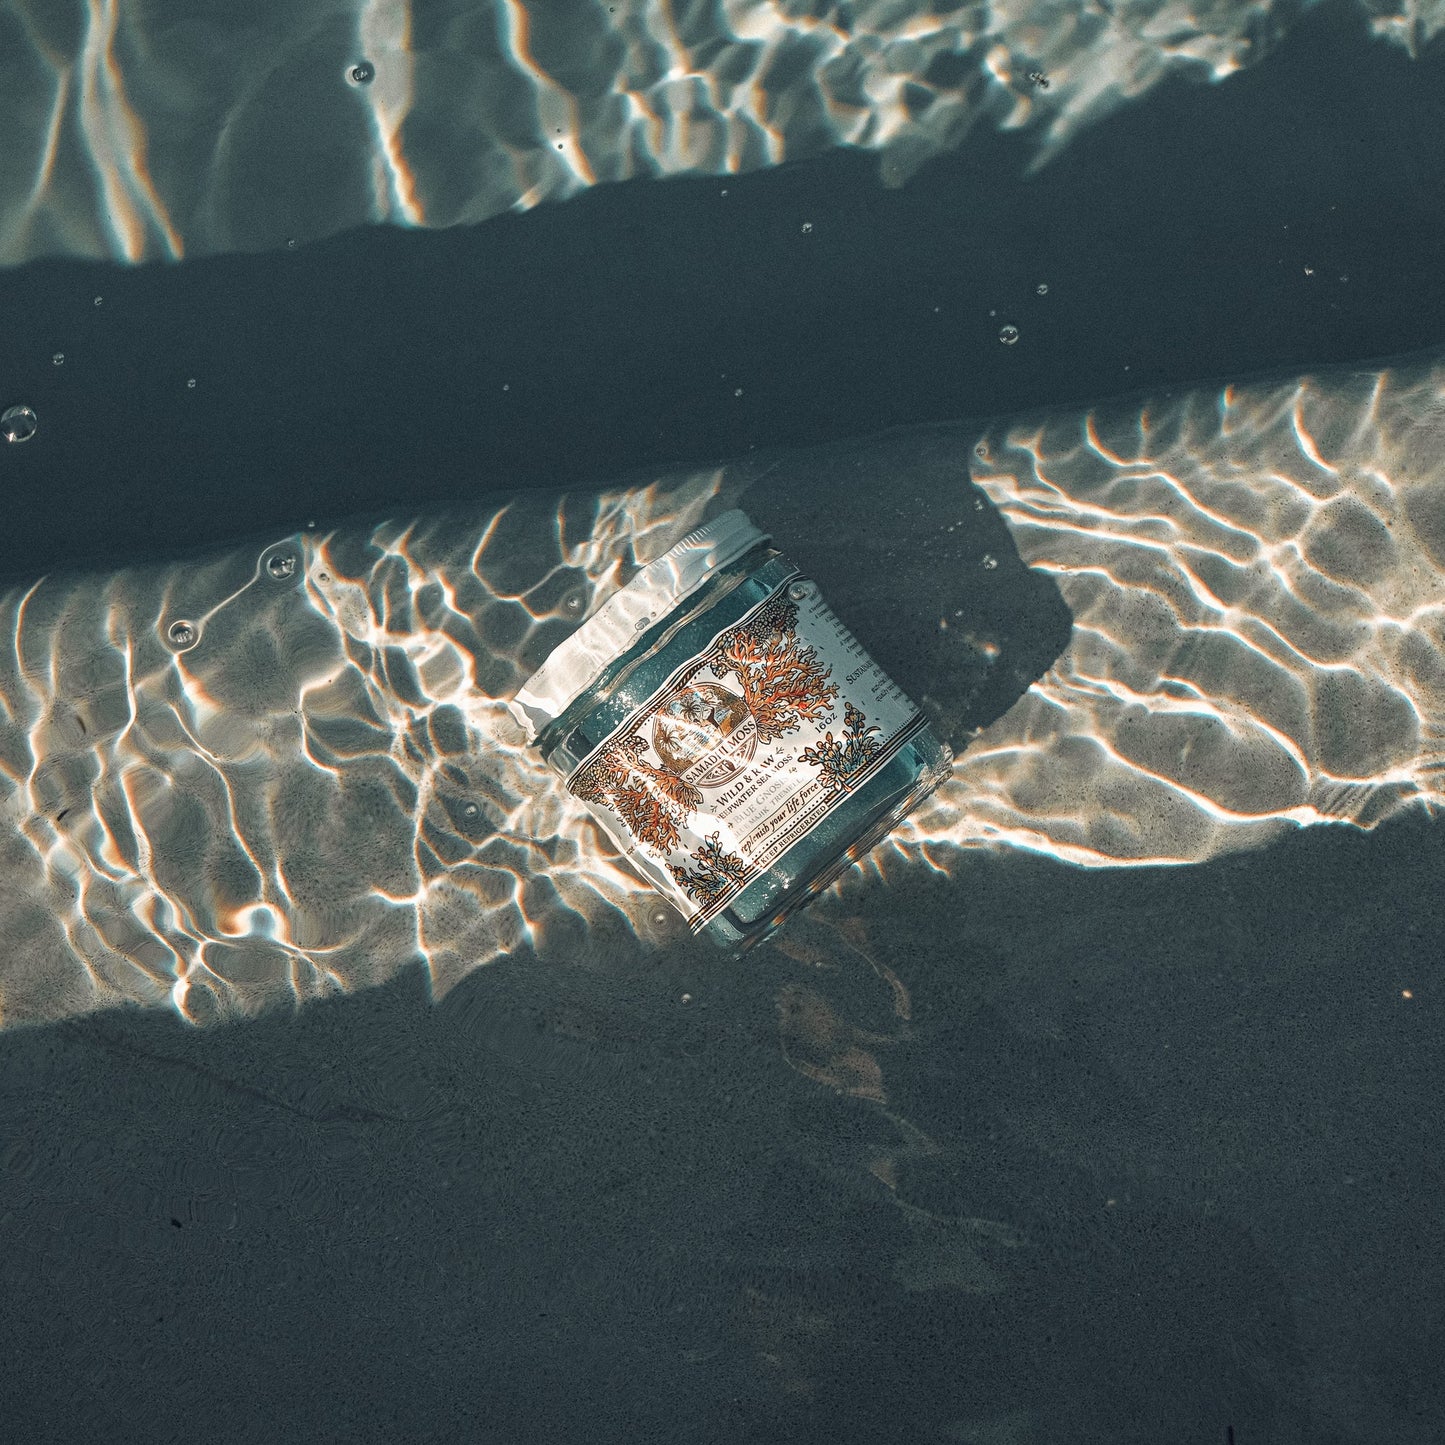
At Samadhi Moss, sea moss is sourced from Belizean divers who harvest beyond shore, where the moss grows in its natural environment. That origin is worth respecting in your kitchen. Rinsing is not about stripping away what makes sea moss real. It is about preparing it with enough care to bring its natural vitality into your routine.
Common Rinsing Mistakes That Affect Your Gel
The most common mistake is rushing from the bag to the blender. Unrinsed dried sea moss can leave a salty, gritty taste in your finished gel, even if the blend looks smooth. Give the rinse your full attention before soaking.
Another mistake is soaking at room temperature for too long. Sea moss is a fresh, hydrated food once it absorbs water, so refrigerate it while it soaks. This protects the quality of your preparation and supports a cleaner final gel.
Finally, do not judge your sea moss only by its color. A deeper hue, irregular shape, or small natural variation is not a flaw. Focus on freshness, cleanliness, scent, and proper handling. The goal is a smooth, clean gel that feels like an easy addition to a disciplined wellness ritual, not a perfectly uniform ingredient that has been processed beyond recognition.
Store Your Gel With Intention
Transfer blended sea moss gel to a clean, airtight glass jar and refrigerate it promptly. Use a clean spoon each time you scoop it out to avoid introducing moisture or food particles from other ingredients. Most homemade sea moss gel is best enjoyed within about two to three weeks, though freshness can vary based on preparation, refrigerator temperature, and handling.
If you make more than you can use in that window, freeze portions in an ice cube tray or small freezer-safe containers. Frozen portions make daily use effortless: drop one into a smoothie, let one thaw for a spoonful of gel, or blend it into a nourishing drink when your body calls for replenishment.
A proper rinse takes only a few extra minutes, yet it changes the entire experience. Let that small act be part of the ritual: clean water, patient hands, and a preparation that honors the vitality carried from the sea to your table.