If your sea moss smells too strong, turns slimy too fast, or blends into a gel with a rough texture, the issue usually starts before the blender ever comes out. Knowing how to soak dried sea moss properly changes everything - the smell, the expansion, the texture, and the quality of your final gel.
Dried sea moss is a whole-food mineral source, but it still needs intentional preparation. This is not a product to rush. When soaked correctly, sea moss softens, expands, and becomes easy to blend into a smooth gel that fits naturally into a daily wellness ritual.
How to soak dried sea moss step by step
Start with a clean glass bowl, filtered or spring water, and your dried sea moss. Before soaking, inspect the moss and remove any visible shell fragments or natural ocean debris. Wild sea moss is real ocean-grown material, so a little variation is normal. That is part of what makes quality sourcing matter.
Next, rinse the dried sea moss thoroughly under cool water. Use your hands to massage and move it around as you rinse. This helps wash away excess salt, sand, and surface particles. Some people rinse once and move on, but a more deliberate rinse gives you a cleaner soak and a cleaner-tasting gel.
Once rinsed, place the sea moss in a bowl and cover it with plenty of water. It will expand as it hydrates, so do not barely cover it. Give it room. A general rule is to use enough water so the moss can swell without pressing above the surface.
Let it soak at room temperature for 12 to 24 hours. In most cases, overnight is ideal. The sea moss should become soft, plump, and slightly translucent. Its color may shift as it hydrates, which is completely normal.
After soaking, drain the water and give the sea moss one final rinse. At that point, it is ready to blend into gel.
Why soaking dried sea moss matters
Soaking is not just about making dried sea moss easier to blend. It is the preparation stage that brings the moss back to life. Dry sea moss is condensed and dormant. Water rehydrates it, allowing the texture to open up and the structure to soften.
That affects more than convenience. It affects the final consistency of your gel and how enjoyable it is to use every day. A proper soak can help reduce excess ocean scent, improve smoothness, and make the whole process feel cleaner and more refined.
It also helps you see what you are working with. Once hydrated, quality sea moss should look fuller and more vibrant, not brittle or dusty. If you care about purity, this stage tells you a lot.
How long should you soak dried sea moss?
This is where people tend to overcomplicate things. Most dried sea moss does well with a soak between 12 and 24 hours. For many households, 16 to 18 hours hits the sweet spot.
If you soak for too short a time, the moss may stay firm in the center and produce a less silky gel. If you soak too long, especially in a warm kitchen, you may notice a stronger scent or an overly soft texture. Longer is not always better.
It depends somewhat on the type and dryness of the moss. Very dry, dense pieces may need more time. Smaller, thinner pieces may be ready sooner. The goal is simple: the moss should feel soft and flexible, not crunchy or stiff.
If your home is especially warm, you can soak it in the refrigerator after the initial rinse. Room-temperature soaking works well for most people, but cooler storage can be a better choice if you want a slower, more controlled hydration.
What kind of water should you use?
Use clean, filtered or spring water whenever possible. Since sea moss absorbs the water it sits in, the quality of that water matters. If your tap water has a strong chlorine smell or off taste, that can carry into the moss.
This is one of those small details that affects the whole experience. Clean inputs lead to a cleaner result. If you are building a wellness routine around sea moss, it makes sense to prepare it with the same level of intention.
Some people add lime or lemon to the soak. That can help freshen the scent, and it is a common prep method. Still, it is optional. If your sea moss is clean and high quality, plain water is often enough. Citrus can slightly shift the flavor and aroma, which some people enjoy and others do not.
What soaked sea moss should look and feel like
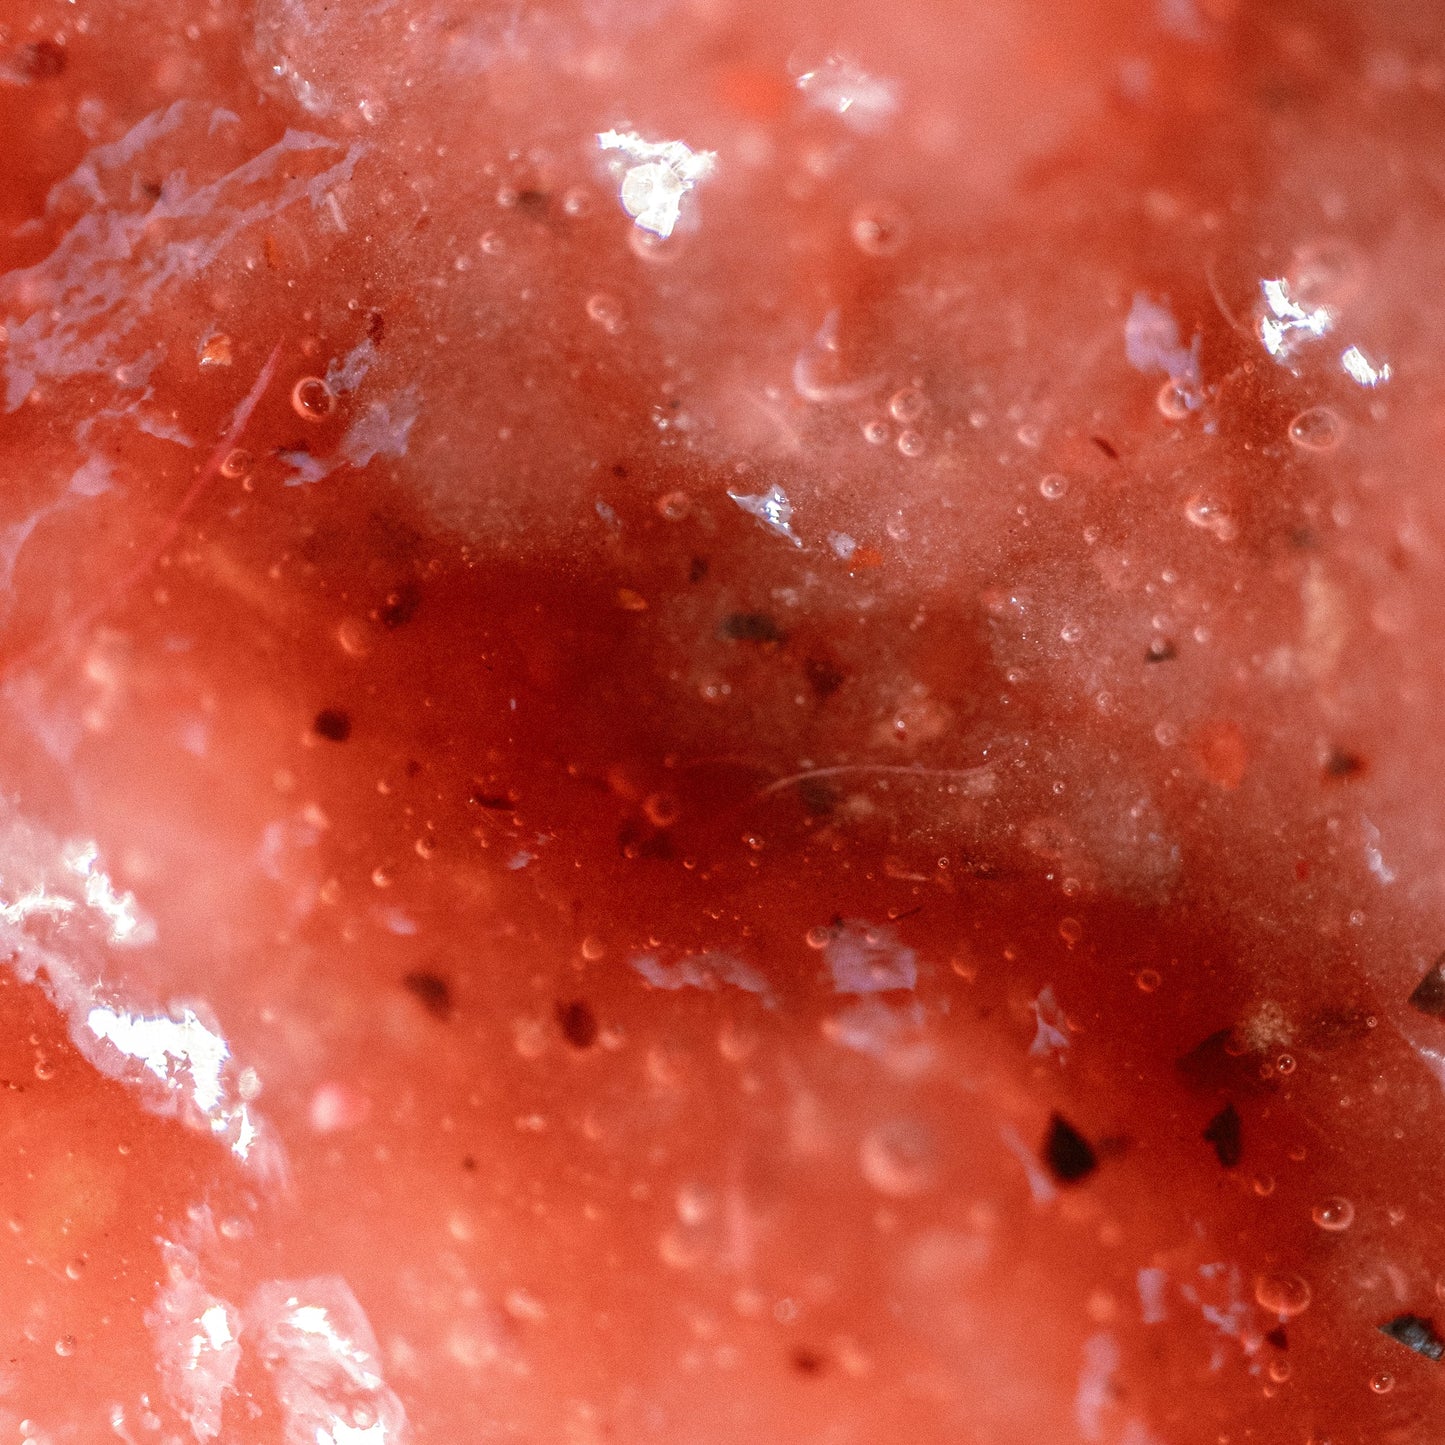
Properly soaked sea moss should be noticeably larger than when dry. It will feel soft, slippery, and pliable, not mushy or disintegrating. Depending on the variety, the color can range from golden to deep purple to greenish tones, and those shades may deepen or become more translucent after soaking.
A mild ocean scent is normal. A harsh or unpleasant smell usually points to poor rinsing, poor storage, or simply soaking for too long.
Texture matters here. Healthy, soaked sea moss still has structure. It should not fall apart the second you touch it. When you press it between your fingers, it should feel hydrated and springy.
Common mistakes when soaking sea moss
The biggest mistake is not rinsing enough. Dried sea moss can carry natural salt and ocean residue, especially if it is wild harvested. Skipping a proper rinse affects both taste and smell.
The second mistake is using too little water. Sea moss expands more than many first-time users expect. If the bowl is too small or the water level too low, some of the moss may hydrate unevenly.
Another common issue is soaking it for too long and assuming that extra time equals better results. It does not. Once the moss is fully softened, there is no real benefit to letting it sit for another full day.
People also sometimes mistake all sea moss for the same product. Preparation can vary slightly depending on how it was harvested, dried, and stored. Wild harvested moss, especially when handled with care and dried without shortcuts, often responds beautifully to a simple rinse-and-soak method. Lower-grade material may need more sorting and may still yield an inferior texture.
After you soak it, what comes next?
Once your sea moss is soaked and rinsed, blend it with fresh water until smooth. The amount of water you add will shape the final gel. Less water makes a thicker gel. More water makes it looser and easier to pour.
There is no single perfect ratio because it depends on how you use it. If you want a spoonable gel for smoothies or daily mineral support, keep it slightly thick. If you prefer to stir it into teas, soups, or lighter blends, a thinner consistency may work better.
After blending, transfer the gel to a clean jar and refrigerate it. It will continue to set as it chills. A well-made gel should look smooth, clean, and naturally rich.
The quality of the dried moss changes the whole process
Learning how to soak dried sea moss is part technique, part sourcing. If the raw material is poor, even a perfect soak can only do so much. Farmed or low-integrity moss often lacks the same texture, visual character, and trust that come with carefully sourced wild sea moss.
That is why origin matters. Sea moss that is dived for beyond shore, handled in small batches, and dried with care tends to need less correction in the kitchen. It responds to simple preparation because it was not compromised from the start.
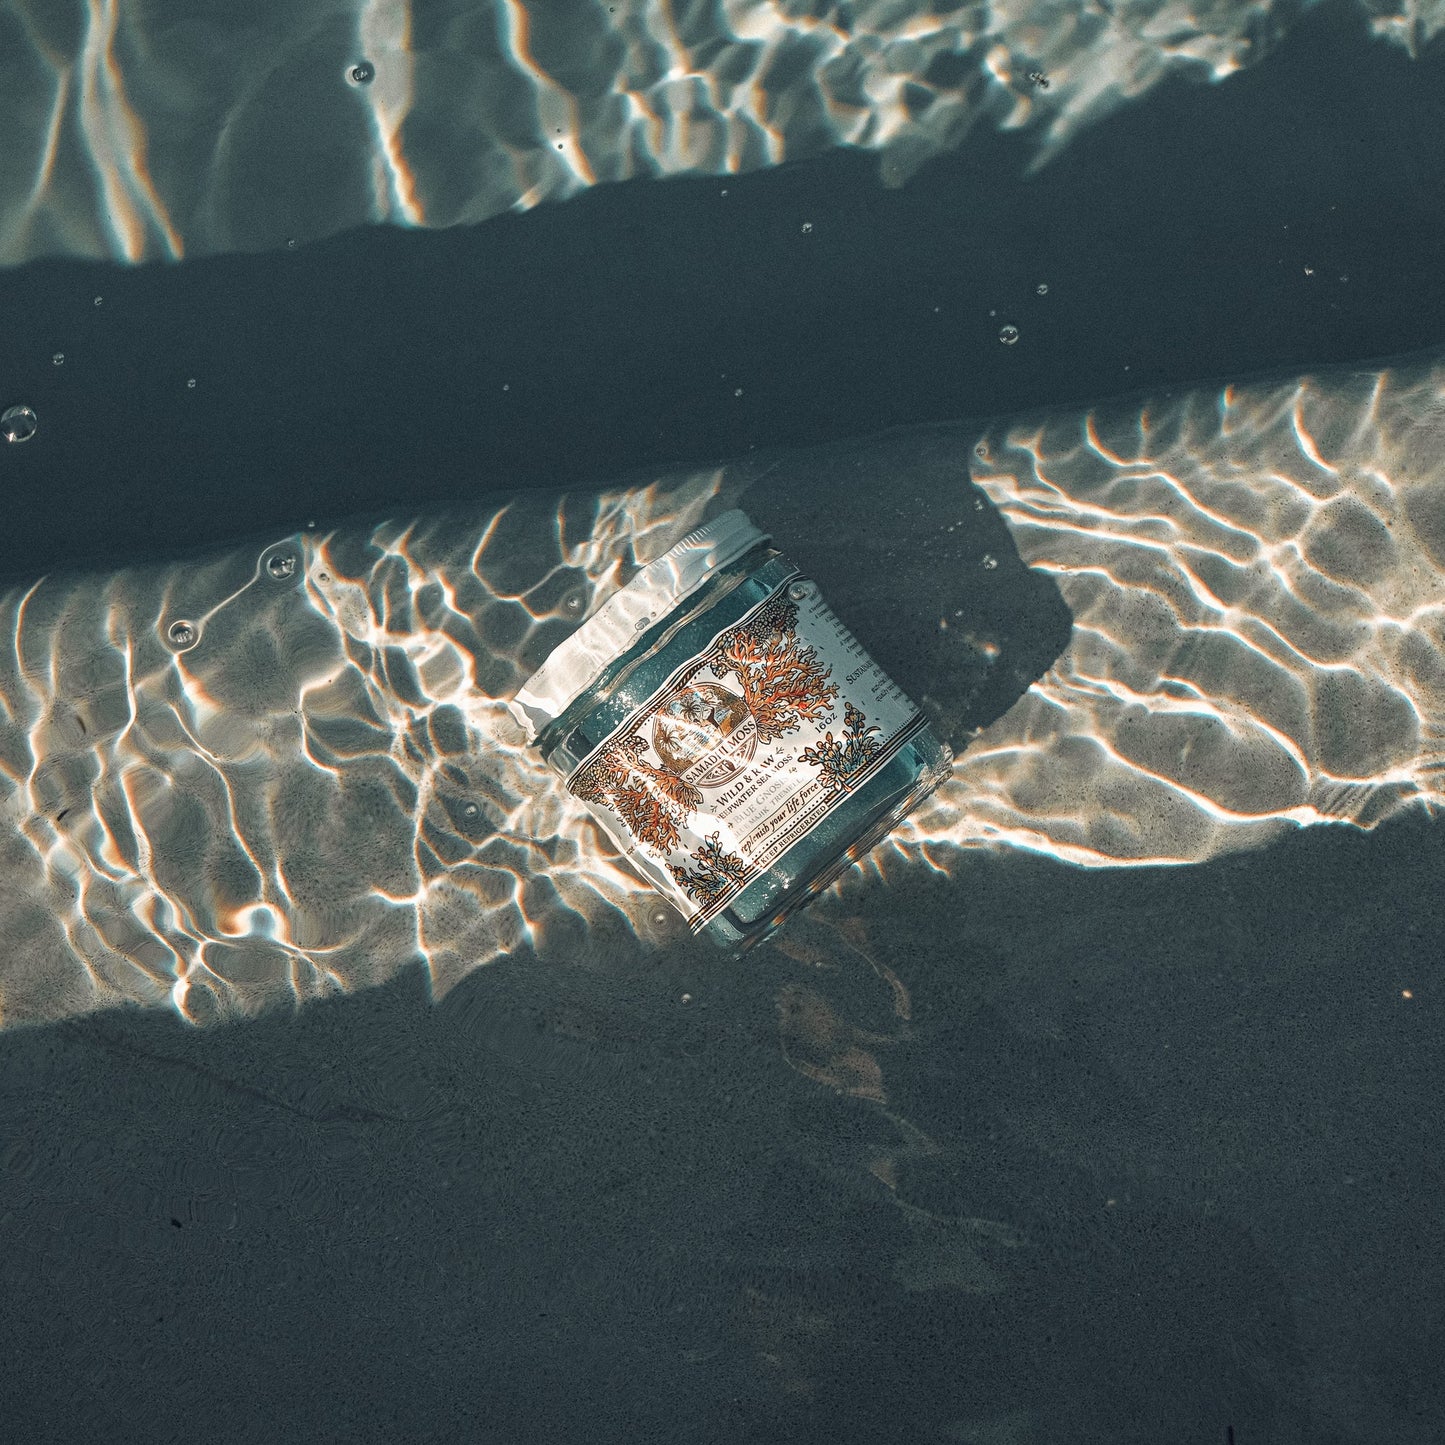
For people who treat sea moss as a daily replenishment ritual, that difference is not small. It shows up in the smell, the texture, the way it blends, and the confidence you feel using it consistently. At Samadhi Moss, that standard matters because no shortcuts belong in a lifeforce practice.
How to tell if your soak went right
The easiest way to judge your results is by what happens next. If the sea moss blends easily, forms a smooth gel, and stores well in the refrigerator, your soak was likely on point.
If it still feels tough in places, it probably needed more time. If it smells overly strong or seems broken down, it may have soaked too long or sat in water that was not fresh enough.
Like any natural preparation, there is a little feel involved. The more often you make sea moss gel, the more intuitive this becomes. You start to notice the exact softness, fullness, and scent that signal readiness.
A clean soak is a quiet step, but it sets the tone for everything after. Give the moss enough water, enough time, and a little care, and it gives back a smoother, more vital result that feels worth keeping in your routine.